
Introduction
Iron-on embroidery patches are a fun and creative way to personalize clothing, bags, hats, jackets, and more. Whether you're adding a company logo to uniforms or creating custom patches for a sports team, iron-on patches offer a simple solution without complicated sewing.
If you're wondering how to create iron-on embroidery patches, you're in the right place. The process involves more than just stitching a design—it requires the right materials, proper embroidery digitizing, and a quality heat-activated backing. With a little planning and the right techniques, you can make patches that look professional and last through regular wear.
What Are Iron-On Embroidery Patches?
Iron-on embroidery patches are embroidered designs attached to garments using a heat-activated adhesive backing.
Instead of sewing the patch onto fabric, heat from an iron or heat press melts the adhesive, securely bonding the patch to the garment.
They are commonly used for:
Business uniforms
Sports teams
School apparel
Clubs and organizations
Military-style patches
Fashion accessories
DIY craft projects
Personalized gifts
Their convenience and clean appearance make them a popular choice for both hobbyists and businesses.
Materials You Need to Create Iron-On Embroidery Patches
Before you begin, gather the necessary supplies.
Essential Materials
Embroidery machine
Digitized embroidery design
Embroidery thread
Patch fabric or twill
Stabilizer
Iron-on adhesive backing
Embroidery scissors
Heat press or household iron
Heat-resistant pressing sheet
Using quality materials helps produce patches that are durable and professional-looking.
Step 1: Choose or Create Your Design
Every great patch starts with a well-designed image.
Simple logos, badges, monograms, and illustrations usually work best because they stitch clearly and remain easy to recognize.
If your design includes very fine details or tiny lettering, consider simplifying it before digitizing.
Step 2: Digitize the Artwork
Embroidery machines cannot read image files like JPG or PNG directly.
Your artwork must first be converted into an embroidery file through professional digitizing.
During digitizing, stitch settings are carefully planned, including:
Stitch direction
Stitch density
Underlay
Pull compensation
Stitch sequence
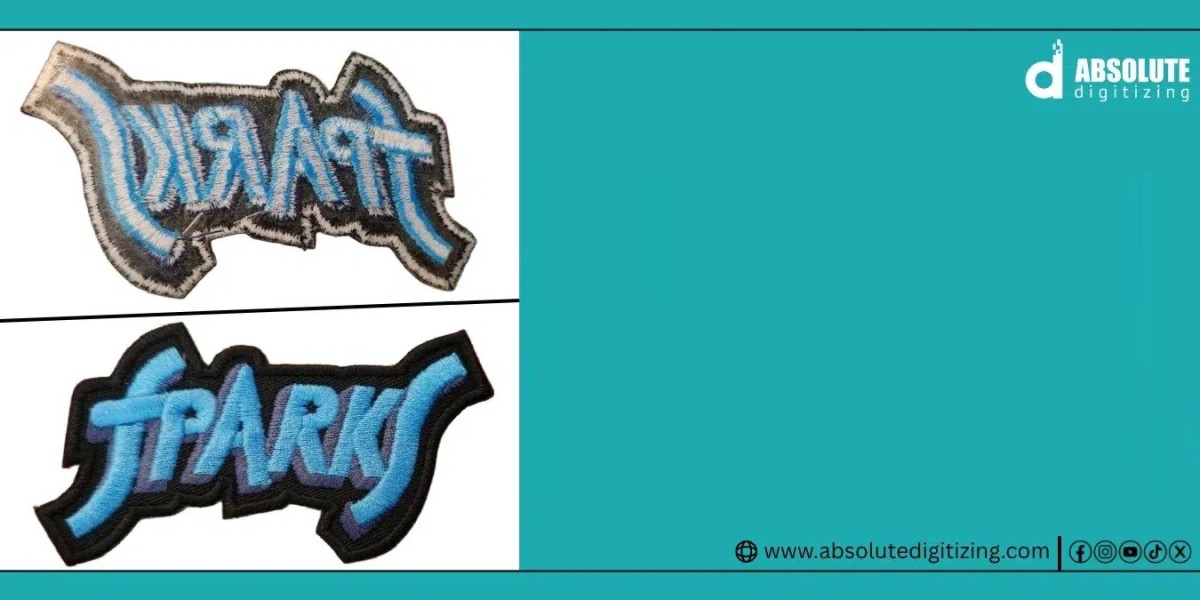
These adjustments ensure your patch stitches cleanly and maintains its shape.
At Absolute Digitizing, every design is manually digitized to deliver smooth, production-ready embroidery files with excellent stitch quality.
Step 3: Select the Right Patch Fabric
The foundation fabric plays a major role in the finished patch.
Popular patch materials include:
Polyester twill
Cotton twill
Felt
Canvas
Twill is one of the most popular choices because it is durable, smooth, and provides excellent stitch support.
Step 4: Hoop the Fabric and Stabilizer
Place your patch fabric together with an appropriate stabilizer inside the embroidery hoop.
A stable foundation helps prevent:
Fabric shifting
Design distortion
Wrinkles
Uneven stitching
Taking a few extra minutes to hoop properly can greatly improve the final result.
Step 5: Stitch the Embroidery Design
Load the embroidery file into your machine and begin stitching.
Depending on the design, the machine will create:
Fill stitches
Satin borders
Running stitches
Decorative elements
Watch the first few minutes of stitching to ensure everything runs smoothly.
Step 6: Cut the Patch
After embroidery is complete, carefully trim around the border.
Many patches include a satin border that makes trimming easier while giving the patch a clean, finished appearance.
Take your time to avoid cutting too close to the stitching.
Step 7: Apply the Iron-On Backing
Now it's time to add the heat-activated adhesive.
Place the adhesive backing on the back of the patch and follow the manufacturer's recommended temperature and pressing time.
This creates the iron-on feature that allows the patch to be applied without sewing.
Step 8: Attach the Patch to the Garment
Position the patch where you want it.
Then:
Preheat the garment.
Place the patch on the fabric.
Cover with a pressing cloth.
Apply heat using an iron or heat press.
Allow the patch to cool completely.
Once cooled, the adhesive forms a strong bond with the fabric.
Tips for Long-Lasting Iron-On Patches
A few simple habits can extend the life of your patches.
Choose Strong Embroidery Thread
Quality thread resists fading and wear over time.
Use the Correct Heat
Too little heat weakens adhesion, while excessive heat may damage the patch or garment.
Avoid Stretchy Fabrics
Iron-on patches work best on stable fabrics such as denim, cotton, canvas, and twill.
Wait Before Washing
Allow at least 24 hours after application before washing the garment.
Wash Inside Out
Turning garments inside out reduces friction during washing and helps preserve the patch.
Common Mistakes to Avoid
Even experienced embroiderers make mistakes from time to time.
Avoid these common issues:
Using low-quality artwork
Skipping professional digitizing
Choosing the wrong stabilizer
Applying insufficient heat
Trimming too close to the border
Using poor-quality adhesive backing
Paying attention to these details helps create stronger, better-looking patches.
Why Professional Digitizing Matters
The quality of your embroidery patch depends heavily on the quality of the digitized file.
Professional digitizing provides:
Smooth stitch paths
Balanced stitch density
Crisp lettering
Clean borders
Reduced thread breaks
Better fabric stability
At Absolute Digitizing, experienced digitizers manually optimize every design to ensure your iron-on patches stitch beautifully and perform reliably in production.
LSI Keywords Related to Iron-On Embroidery Patches
Using related search terms naturally improves topical relevance and SEO.
Examples include:
Custom embroidered patches
Heat press embroidery patches
Embroidery patch backing
Patch digitizing services
Embroidered logo patches
DIY embroidered patches
Machine embroidery patches
Heat seal patches
Patch embroidery design
Embroidery file conversion
These keywords support search engines in understanding the overall topic while keeping the content natural.
Conclusion
Learning how to create iron-on embroidery patches is easier when you follow the right steps and use quality materials. From selecting the perfect design to applying a durable heat-activated backing, every stage contributes to a patch that looks professional and lasts for years.
The most important step is professional embroidery digitizing. A well-digitized design stitches more cleanly, reduces production issues, and creates crisp, attractive patches. At Absolute Digitizing, we specialize in producing high-quality embroidery files that help transform your ideas into durable, eye-catching iron-on patches for apparel, uniforms, promotional products, and personal projects.
FAQs
1. What fabric works best for iron-on embroidery patches?
Polyester twill is one of the best options because it is durable, stable, and provides an excellent surface for embroidery.
2. Can I make iron-on patches with a regular embroidery machine?
Yes. As long as you have a properly digitized embroidery file, suitable patch fabric, stabilizer, and iron-on adhesive backing, a standard embroidery machine can produce high-quality patches.
3. How long do iron-on embroidery patches last?
When applied correctly and cared for properly, iron-on patches can last through many washes. For heavy-use items, sewing around the patch edges can provide additional durability.
4. Why do I need embroidery digitizing before making a patch?
Digitizing converts your artwork into stitch instructions that embroidery machines can understand. Without it, the machine cannot produce the design accurately.
5. Can iron-on patches be removed later?
Yes, but removal usually requires reheating the adhesive and carefully peeling the patch away. Some adhesive residue may remain, depending on the fabric and application method.